How to Use Trezor.io/Start — The Complete Setup Guide
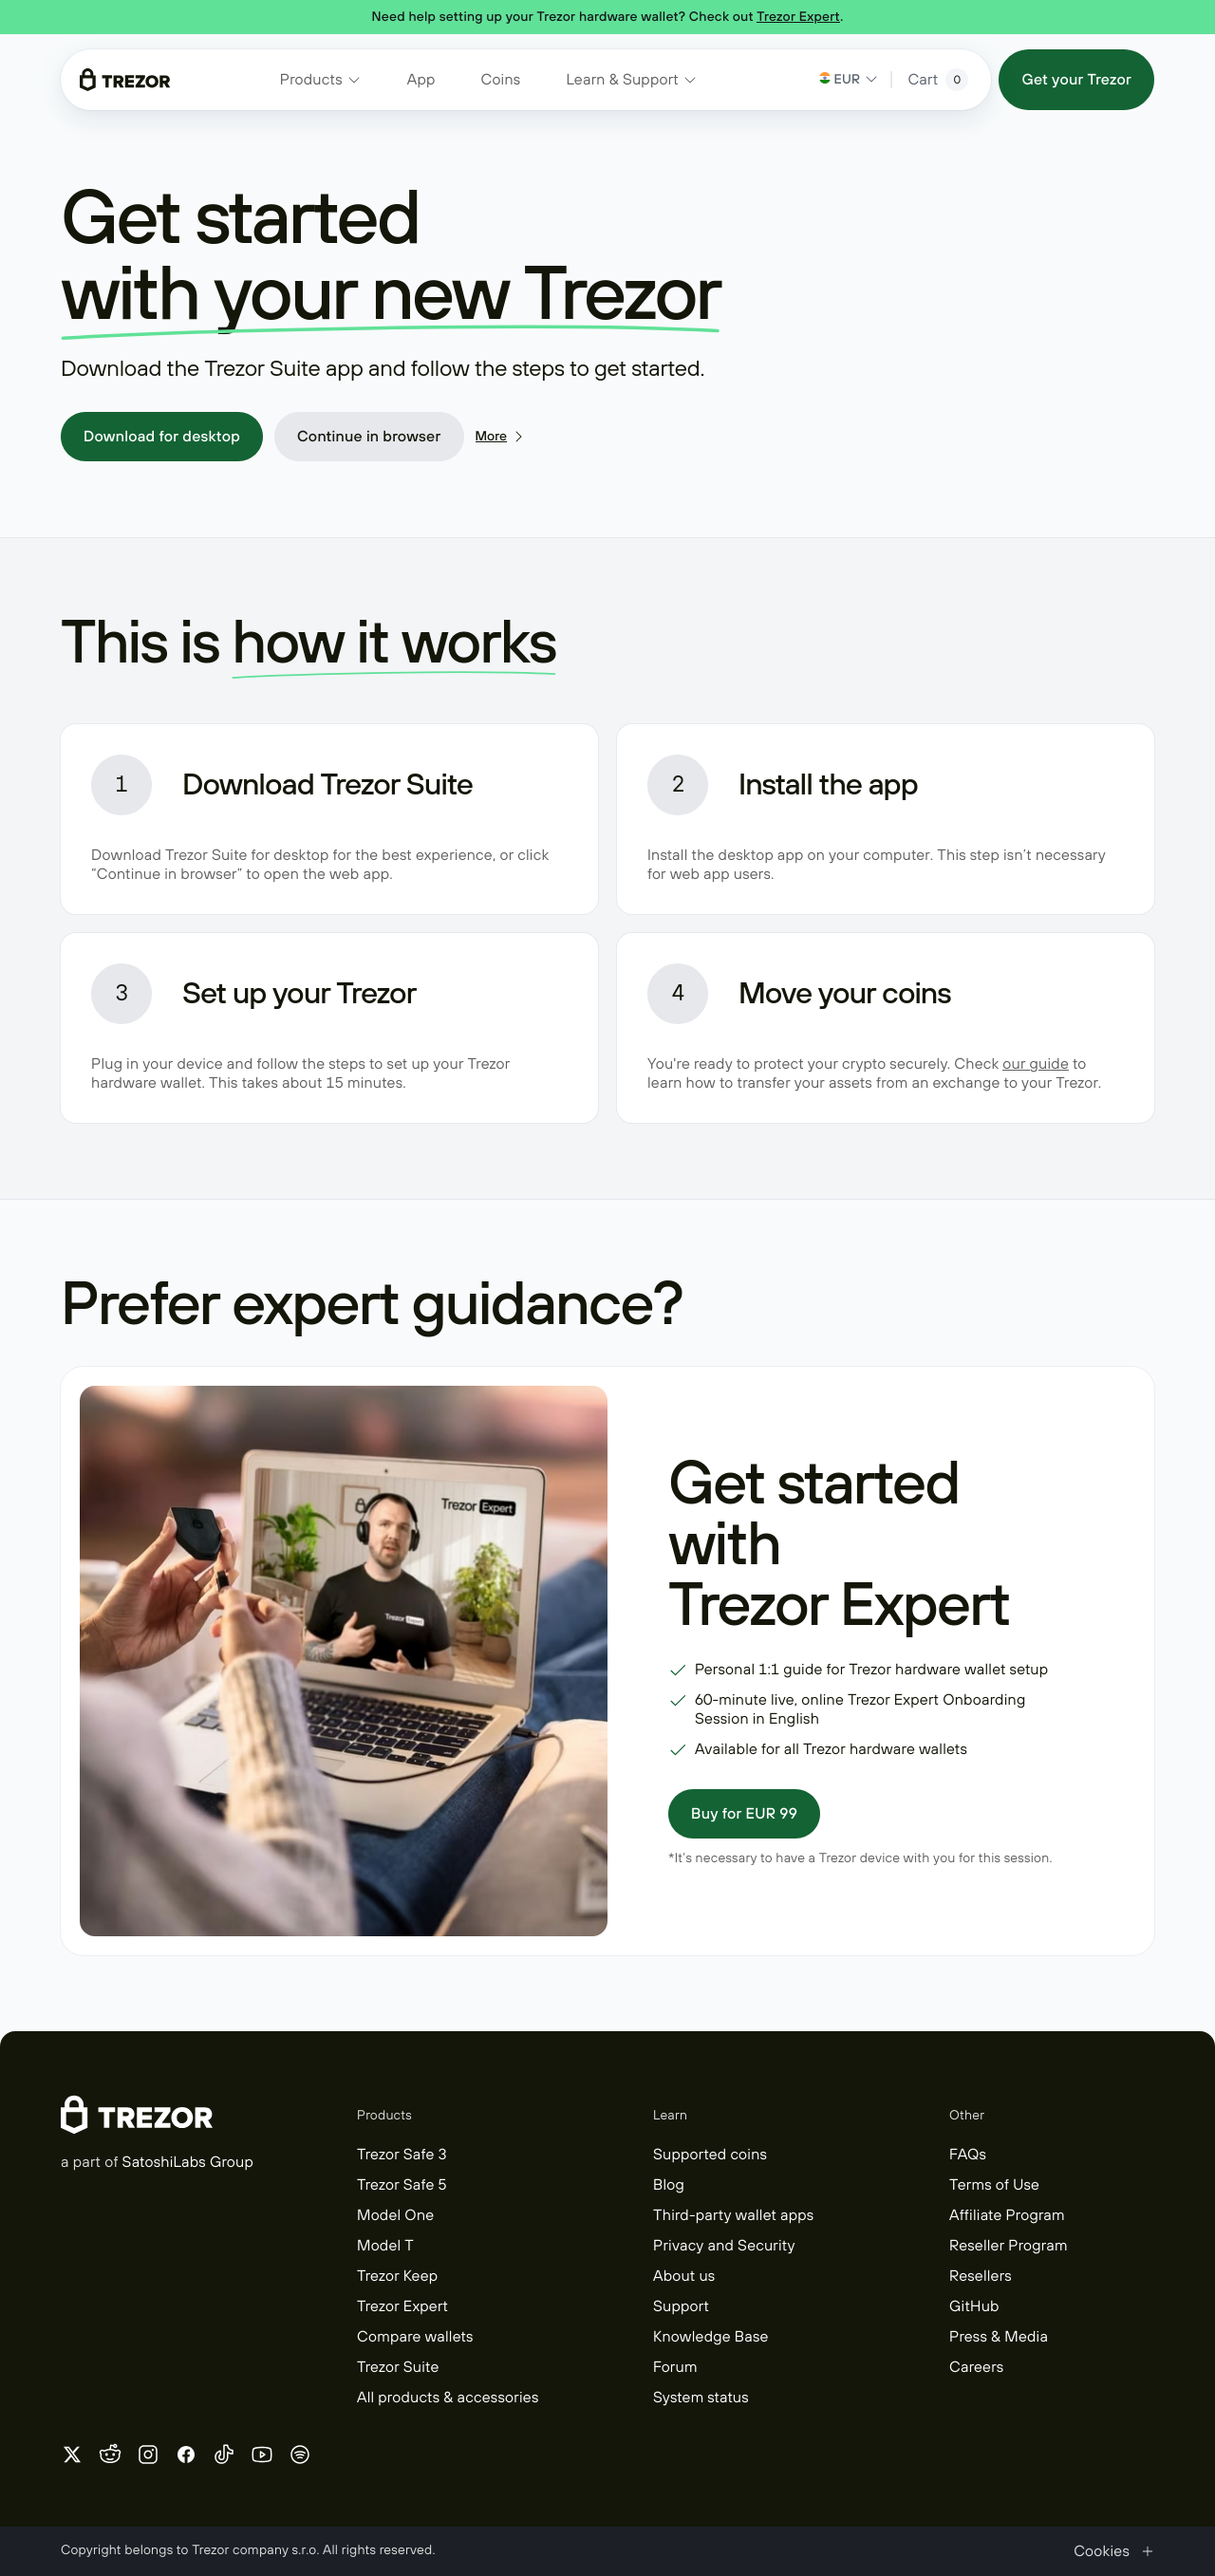
Trezor.io/Start. This official setup portal walks you through initializing your device, installing firmware, and getting your wallet ready for use.
In this guide, we explain what Trezor.io/Start is, how to use it step‑by‑step, and why it’s essential for securing your cryptocurrencies.
What Is Trezor.io/Start?
Trezor.io/Start is the official onboarding page for all Trezor hardware wallets, including the Trezor One and Trezor Model T devices. Hosted by SatoshiLabs, the creators of Trezor wallets, this page serves as the gateway to setting up your device securely.
Instead of downloading software from third‑party sites (which can be dangerous), always start your hardware wallet here. This ensures:
- You get the latest firmware
- You connect directly to the official Trezor Wallet interface
- Your device is authenticated by SatoshiLabs
Visit the official onboarding portal at: https://trezor.io/start
Why Use Trezor.io/Start?
Using Trezor.io/Start helps protect your crypto from scams and fake setup tools.
✔ Official Source
When you go to Trezor.io/Start, you’re accessing the official firmware verification and device initialization system provided by Trezor.
This prevents attackers from tricking you into installing fake wallet software.
✔ Secure Firmware Installation
A key step in wallet security is installing firmware that’s cryptographically signed by Trezor. Only firmware from the official Trezor site will work and pass device verification.
✔ Guided Setup
The onboarding process at Trezor.io/Start provides:
- Step‑by‑step instructions
- Clear interface messages
- Easy recovery seed generation
- Compatibility checks for your browser and device
Step‑by‑Step: How to Set Up Your Trezor at Trezor.io/Start
Follow these steps to initialize your Trezor wallet:
1. Visit the Official Portal
Open a web browser that supports secure hardware connections, such as Chrome, Firefox, or Edge, and go to:
This link redirects you to the official Trezor Wallet interface and ensures you’re on the correct site.
2. Connect Your Trezor Device
Plug in your Trezor hardware wallet using the USB cable included in the box.
Your device may light up and display a welcome screen.
3. Confirm Website Authenticity
Your browser will show a prompt indicating you’re connecting to a hardware device.
Always verify that you’re on the legitimate Trezor site. Check that the URL begins with https://trezor.io and look for browser security indicators (lock icon).
4. Install or Update Firmware
If your device needs a firmware update, Trezor.io/Start will prompt you.
Firmware updates are essential for security and feature enhancements.
Click “Install Firmware,” and the process will automatically begin.
⚠️ Never download firmware from any unofficial sources or links. Only updates offered through Trezor.io/Start are safe.
5. Create a New Wallet or Recover an Existing One
Once firmware is complete, you’ll be guided to:
- Create a new wallet
- Or recover an existing wallet using your recovery seed phrase
Your recovery seed is the most important piece of information you’ll ever generate on your Trezor. Write it down and store it safely offline.
Best Practices When Using Trezor.io/Start
To keep your hardware wallet secure, follow these best practices:
📌 Always Verify URLs
Make sure you’re visiting the official Trezor site:
✔ https://trezor.io
✔ https://trezor.io/start
Avoid clicking on search results or ads that claim to be Trezor setup pages.
📌 Use a Trusted Browser
Google Chrome, Mozilla Firefox, and Microsoft Edge are recommended because they support secure USB communication with hardware wallets.
📌 Never Share Your Seed Phrase
Your recovery seed is private.
No legitimate support agent — whether from Trezor or any other service — will ever ask for your seed.
📌 Update Firmware Regularly
Firmware updates improve security and compatibility. Always update through:
👉 Trezor.io/Start
Supported Devices
Trezor.io/Start works with all official Trezor hardware wallets, including:
- Trezor One — A reliable entry‑level hardware wallet
- Trezor Model T — A premium wallet with a touchscreen
- Trezor Suite integration — Optional desktop interface for advanced management
Troubleshooting Common Setup Issues
If you run into issues while using Trezor.io/Start, here are some tips:
⚠️ Device Not Recognized
✔ Try a different USB cable
✔ Use a different USB port
✔ Make sure browser has permission to connect to USB devices
⚠️ Firmware Doesn’t Install
✔ Check your internet connection
✔ Restart your browser
✔ Make sure your device has power
⚠️ Recovery Words Don’t Match
If you see a mismatch during recovery:
❌ Don’t force the process
❌ Double‑check your seed
❌ Contact official support if necessary — never share your seed online
Official support resources are available through Trezor’s verified site: https://trezor.io/support
Final Thoughts: Start Your Crypto Security Right
Using Trezor.io/Start is the safest way to set up your Trezor hardware wallet. This official onboarding portal ensures your device is properly authenticated, securely initialized, and connected to the correct wallet interface.
Rather than focusing on keyword stuffing or artificial ranking tactics, quality content that educates and protects users will drive engagement, build trust, and improve visibility over time.